If you’re new to WordPress or just new to the Block system of it, you may not know exactly how the system works. It’s very different from most other websites but surprisingly easy to learn! Here’s how it works.
What is a “Block”?
A block in the new WordPress system is just a way of spacing out your various pictures, paragraphs, headers, videos, and more. In short, each Block is a separate new section. For instance, the header above this is a block and this paragraph and the next are also one block.
There are dozens of different blocks available to you and explaining exactly what each one does would just be far too messy, so instead, I’m going to explain it all in broader terms and categories.
Creating a new Block
To create a new block, after you click enter and go into a new paragraph, you’ll see a small plus sign on the left, as seen in the picture below.

Click the plus sign and you’ll be taken to a menu with a variety of different block types including “Paragraph”, “Image”, “Heading”, and many more. It’ll look something like this —
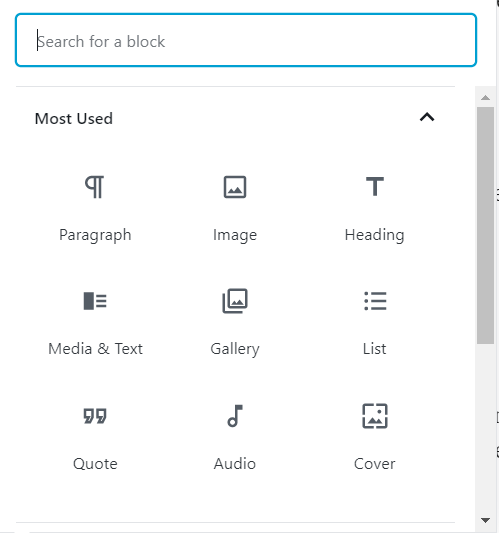
Simply select the block you need at that moment. If you’re adding an image, click image. If you need several images, pick gallery. You can add quotes easily or even a newspaper-styled section using the “Media & Text” option.
Advanced/Specific Blocks
There are more than just the blocks you see above, though. There’s blocks for dividers, tables, HTML, buttons, and much much more. To find these buttons, simply scroll down to one of the other drop down menus found on the plus button. It’ll look something like this —
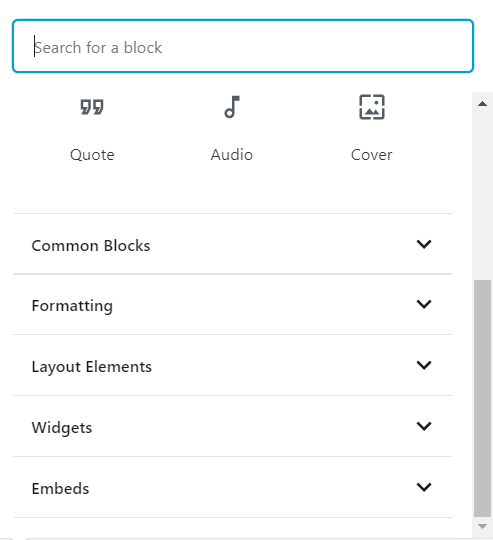
From there, click the category you’re looking to add a block of and discover a diverse selection of different blocks. Play around with them and figure out the block that’ll work best for you. Of course, you could always just stick with the headers and paragraphs alone, too.