Social share icons are simply exactly what they sound like — little buttons on a page that allow users to share content to other platforms. It’s a great little gadget that Jetpack helps you use and it’s easy enough to enable, too.
First, go to your Jetpack Dashboard. Next, in the top right of the screen you should see a “Settings” button. Click that and you’ll be taken to see all of Jetpack’s many features and settings you can change.
Near the top of the page once more you’ll find a long list of categories starting with “Performance” and ending with “Security”. Click the one labelled “Sharing”. Lastly, under the “sharing buttons” heading, enable “Add sharing buttons to your posts”.

Bingo-Bango, you’ve got buttons. Well, you’ve got them enabled, anyway. There’s actually a few more steps to decide which buttons you want enabled!
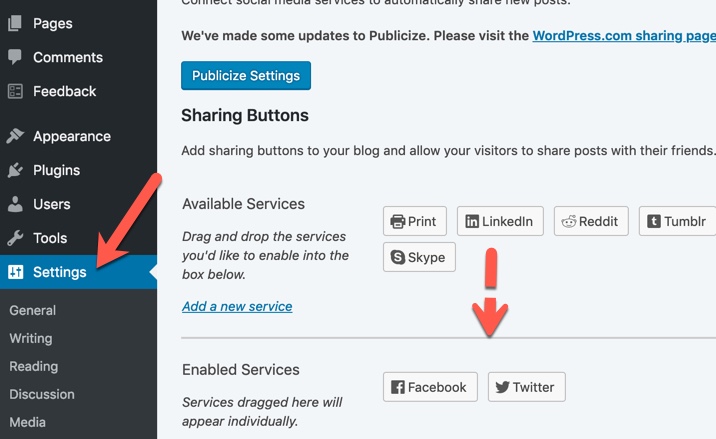
Get back to your main dashboard and now go to your WordPress Settings page on the left. Under it, click the Sharing tab. Simply drag and drop each sharing platform button you want enabled and you’re done!
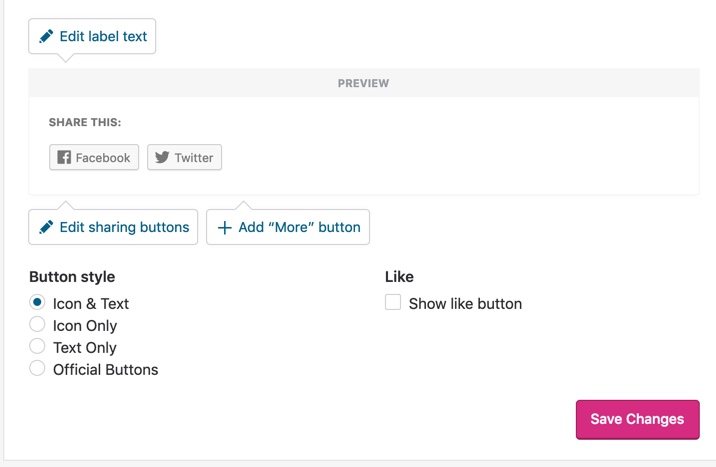
Note that you can also change your button styles and where they’re located at the bottom of that section by going to the Jetpack Dashboard and clicking “Configure your sharing buttons”. You’ll be taking to WordPress and will need to log in. Once there, you can change the enabled buttons and how they look.
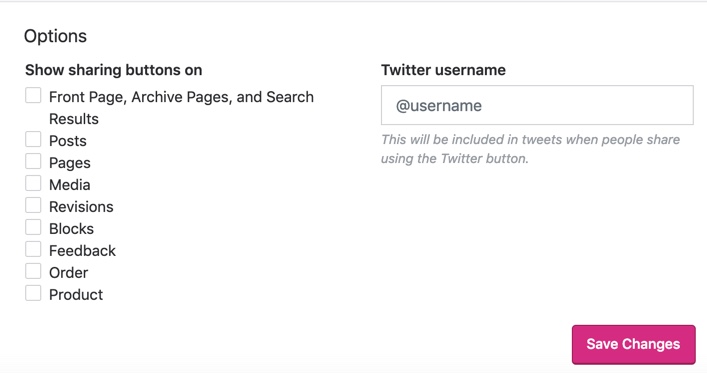
Below the customization options are options to choose which pages the buttons will appear on for your blog.