To access Jetpack themes, the first step is to go to your admin dashboard and on the left click “Appearance”. You should load onto the themes page automatically and, if Jetpack is activated properly, you’ll see a button at the very top saying “Browse Jetpack Themes”. Click it.
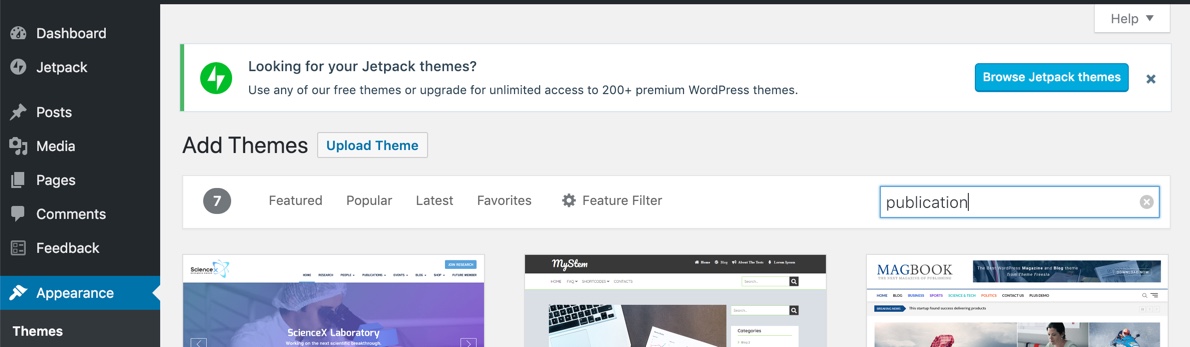
You’ll then be taken to WordPress’ theme page where you can search for themes. There are hundreds of different options so you’ll have a wide variety to choose from! The next step I would take is to choose whether I want a free theme or a paid theme. You’ll find that option near the top of the page.
There aren’t a lot of differences between free and paid themes. However, paid themes do tend to have better features, be more unique (most people go with free themes), have better support, and be more stable. That’s not to say that every free theme out there is overused or buggy, but there is a higher likelihood!
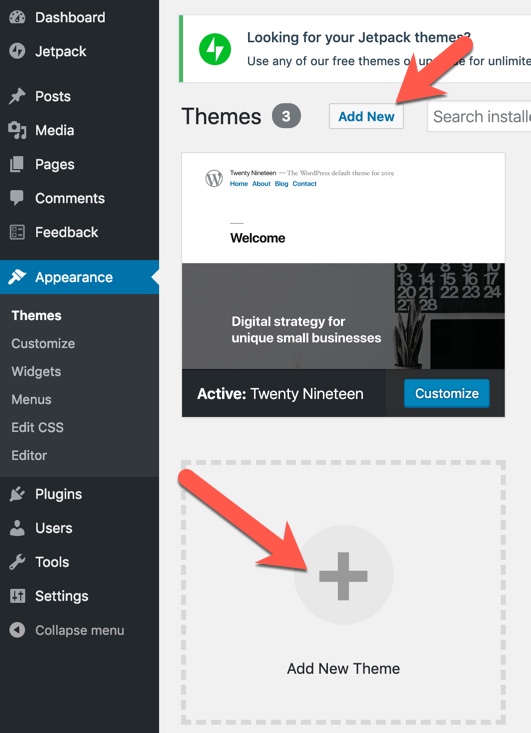
From there, simply pick a theme you like and download it! In the WordPress admin dashboard go back to the Appearance page where you started and click “Add New Theme” at the top or near the bottom.
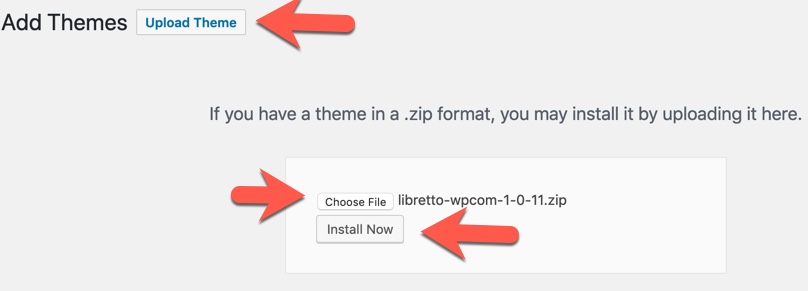
Click “Upload Theme”, choose the file you just downloaded and click “Install Now”.
Finally, you can choose to either preview the theme or activate it. You can always come back to the Appearance section to activate the theme at a later date if you choose not to now!