Writing articles on WordPress is an important part of maintaining a successful website. New content will always lead to more interest in your website, more traffic, and better results with search engines. One important aspect of this is to keep things interesting and that is done in part by adding images to your posts.
It’s actually an incredibly easy process and one that you can do within just a couple minutes.
Adding an Image
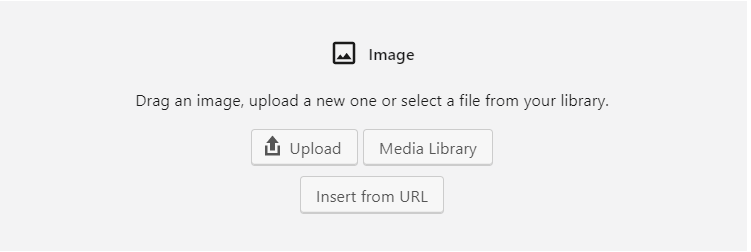
The simplest and quickest way to add an image is to simply create a new block. On the right side of the screen, you can click the image of mountain inside a box to add an image, as seen below

Another way to add an image is to click the plus sign found above to create a specific type of block and select from a variety of different image-related blocks. This can include a simple image, image and text, or even a gallery of images.
From there, you’ll see the screen found below.

Here, you can upload an image from your computer or any devices connected to it, take an already uploaded image from your website’s Media Library, or insert an image directly from URL. All of these options are rather self explanatory so we’ll continue on from there. It’s also important to remember copyright laws so don’t go posting images that aren’t yours or free without crediting the creator.
Edit your Image
Sometimes, when adding an image to a post, it’ll just be too big or small. Resizing images on a program of your choosing is one option, but you can also resize them both from your Media Library and even from your posts directly!

- To resize from your Library, simply click your Media Library on the left.
- Choose and click the image you wish to edit.
- Click “Edit Image” found below the image.
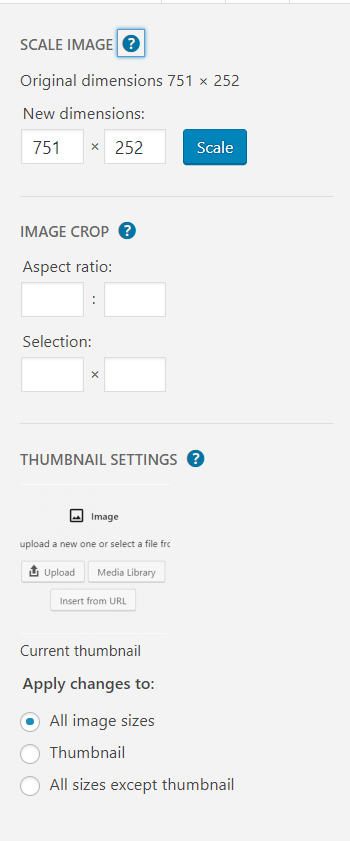
The screen found on the right will pop up and you can edit a variety of different aspects.
Thumbnail settings isn’t really a big deal do you can ignore that. The rest will either resize or crop your image depending on what you’re looking for.
To resize your image directly on your post, simply click the image you’re wanting to resize and move one of the two blue dots that appear on the right and bottom, respectively.
Adding a Featured Image
This is a pretty easy one and only takes a few seconds of explaining. First, make sure you’re not clicked on a block or, if you are, click “Document” on the top right side of the screen. From there, click “Featured Image” — “Set Featured Image”, and choose again whether you want to set it from your Library or an upload.
