How to Install the WordPress Media Cloud Plugin for Storage

Using an external cloud storage server, such as BryZar cloud storage, is recommended as you can offload your photos, videos, etc and reduce the load on your own server. WordPress doesn’t have a built-in setting for storage options. Hence, the need for a plugin. The Media Cloud plugin is one that we recommend.

This plugin allows you to store and manage your WordPress media on whichever external cloud storage you prefer, and is simple to use and set up. We’ll focus on BryZar cloud storage for this article.

How to Install and Configure Media Cloud for WordPress 

The following are guidelines and are based on BryZar cloud storage. If using other cloud storage, please get the details from your own storage server.

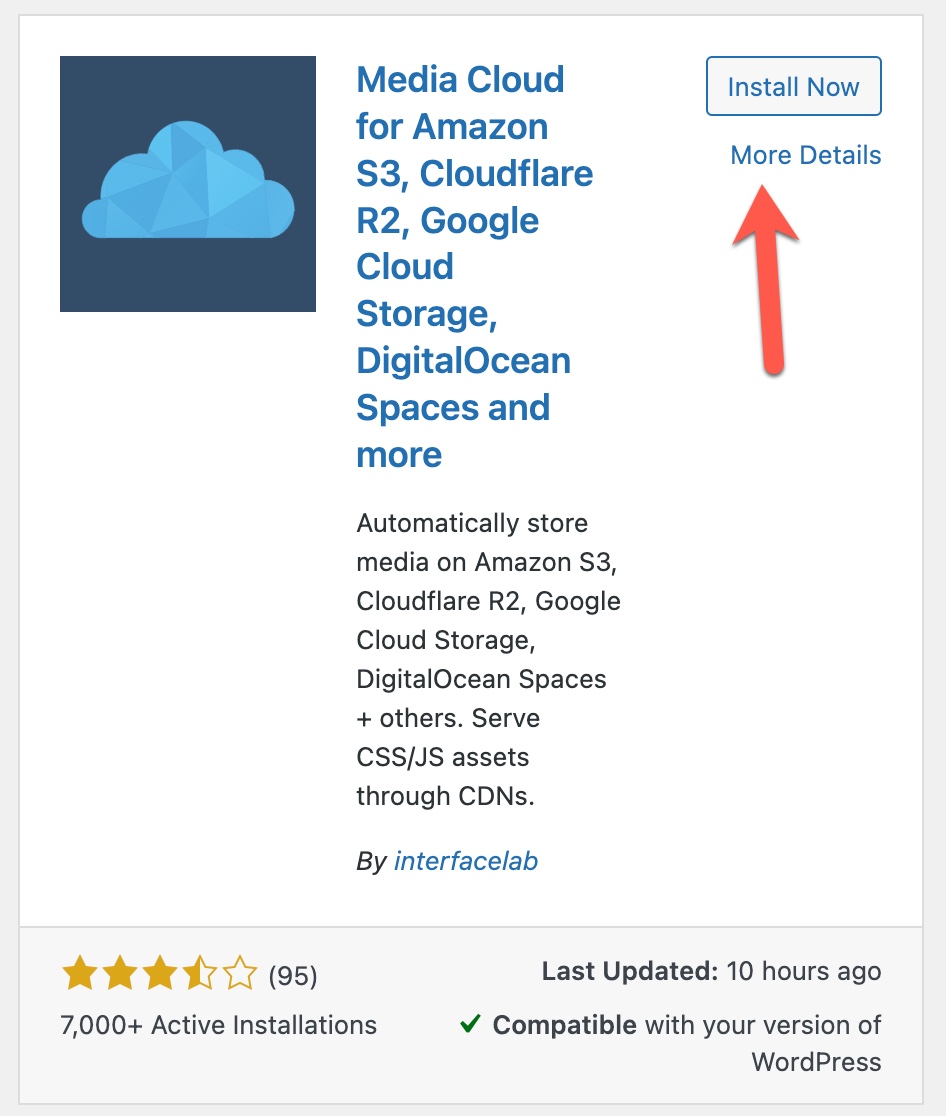
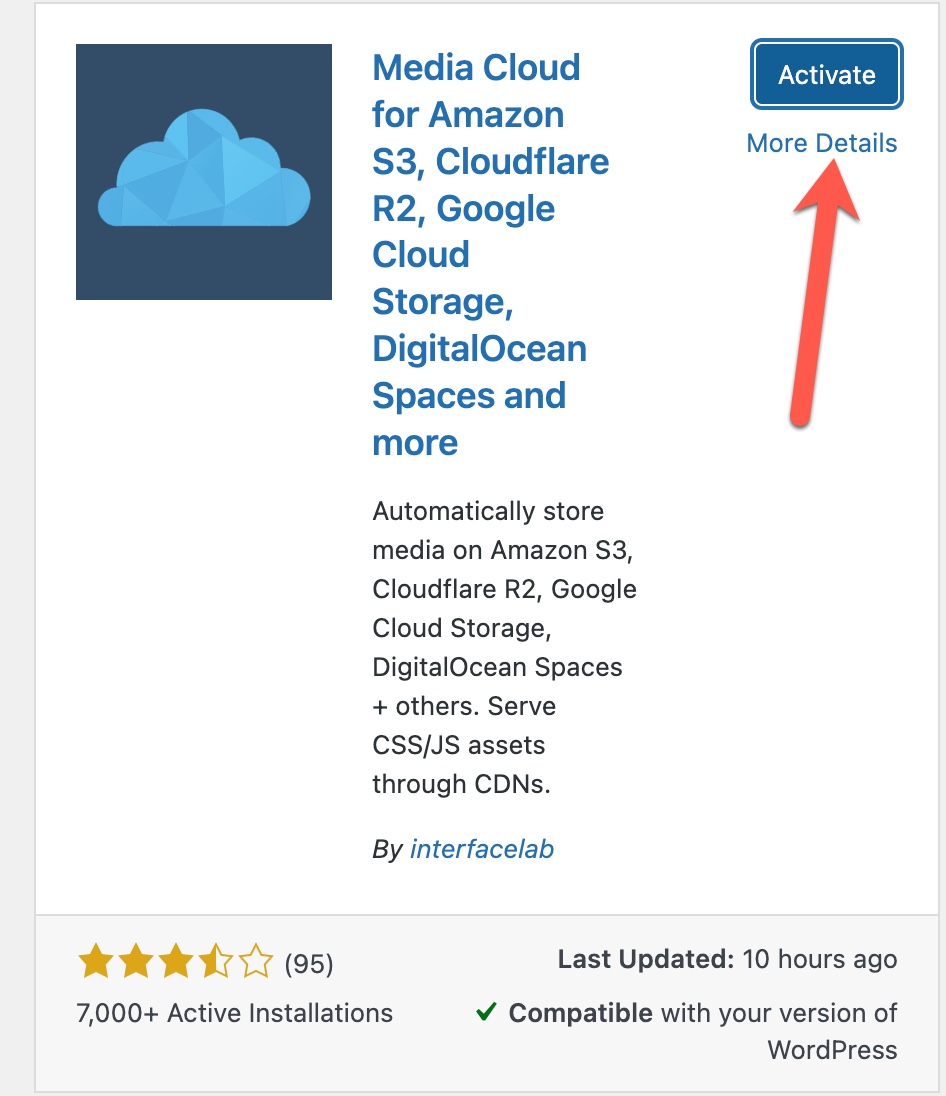
  1. Navigate to Plugins and search for Media Cloud.
  2. Click “Install Now”
  3. install media cloud plugin
  4. Click “Activate
  5. activate media cloud plugin
  6. Skip the next step for allowing notifications.
  7. Follow the on screen instructions – click Next to start.
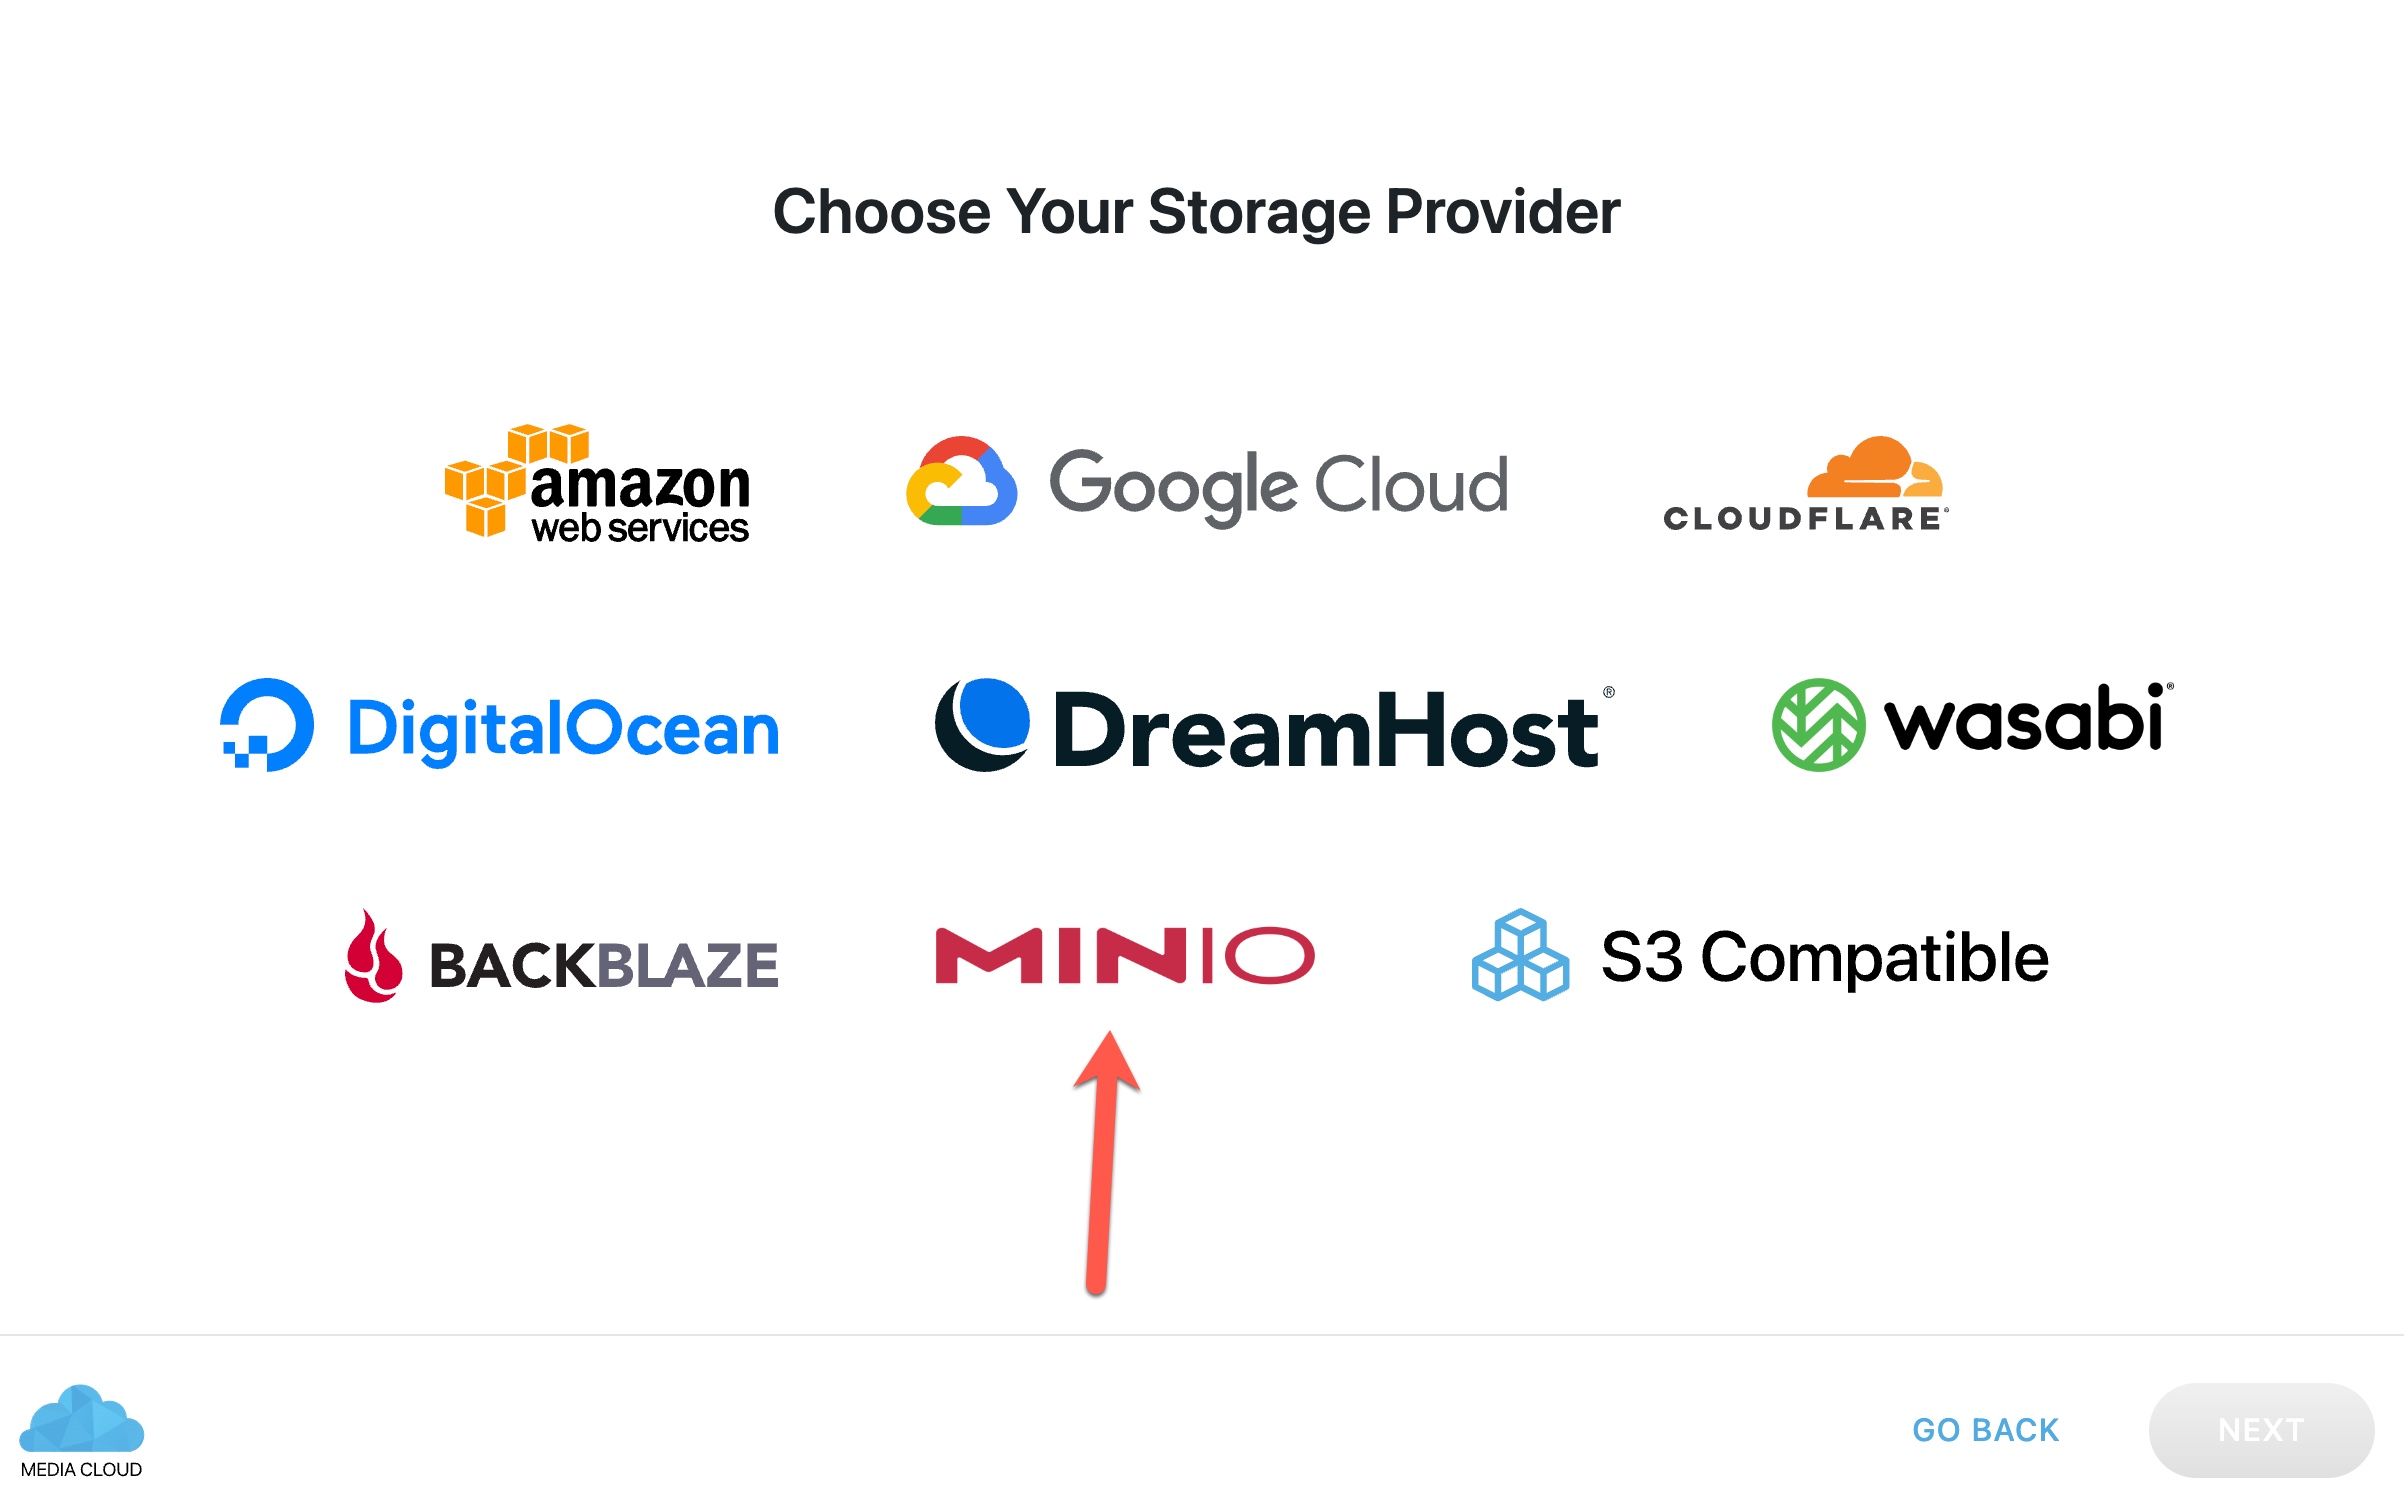
  8. Choose Minio as the storage provider.
  9. choose minio
  10. Click Next
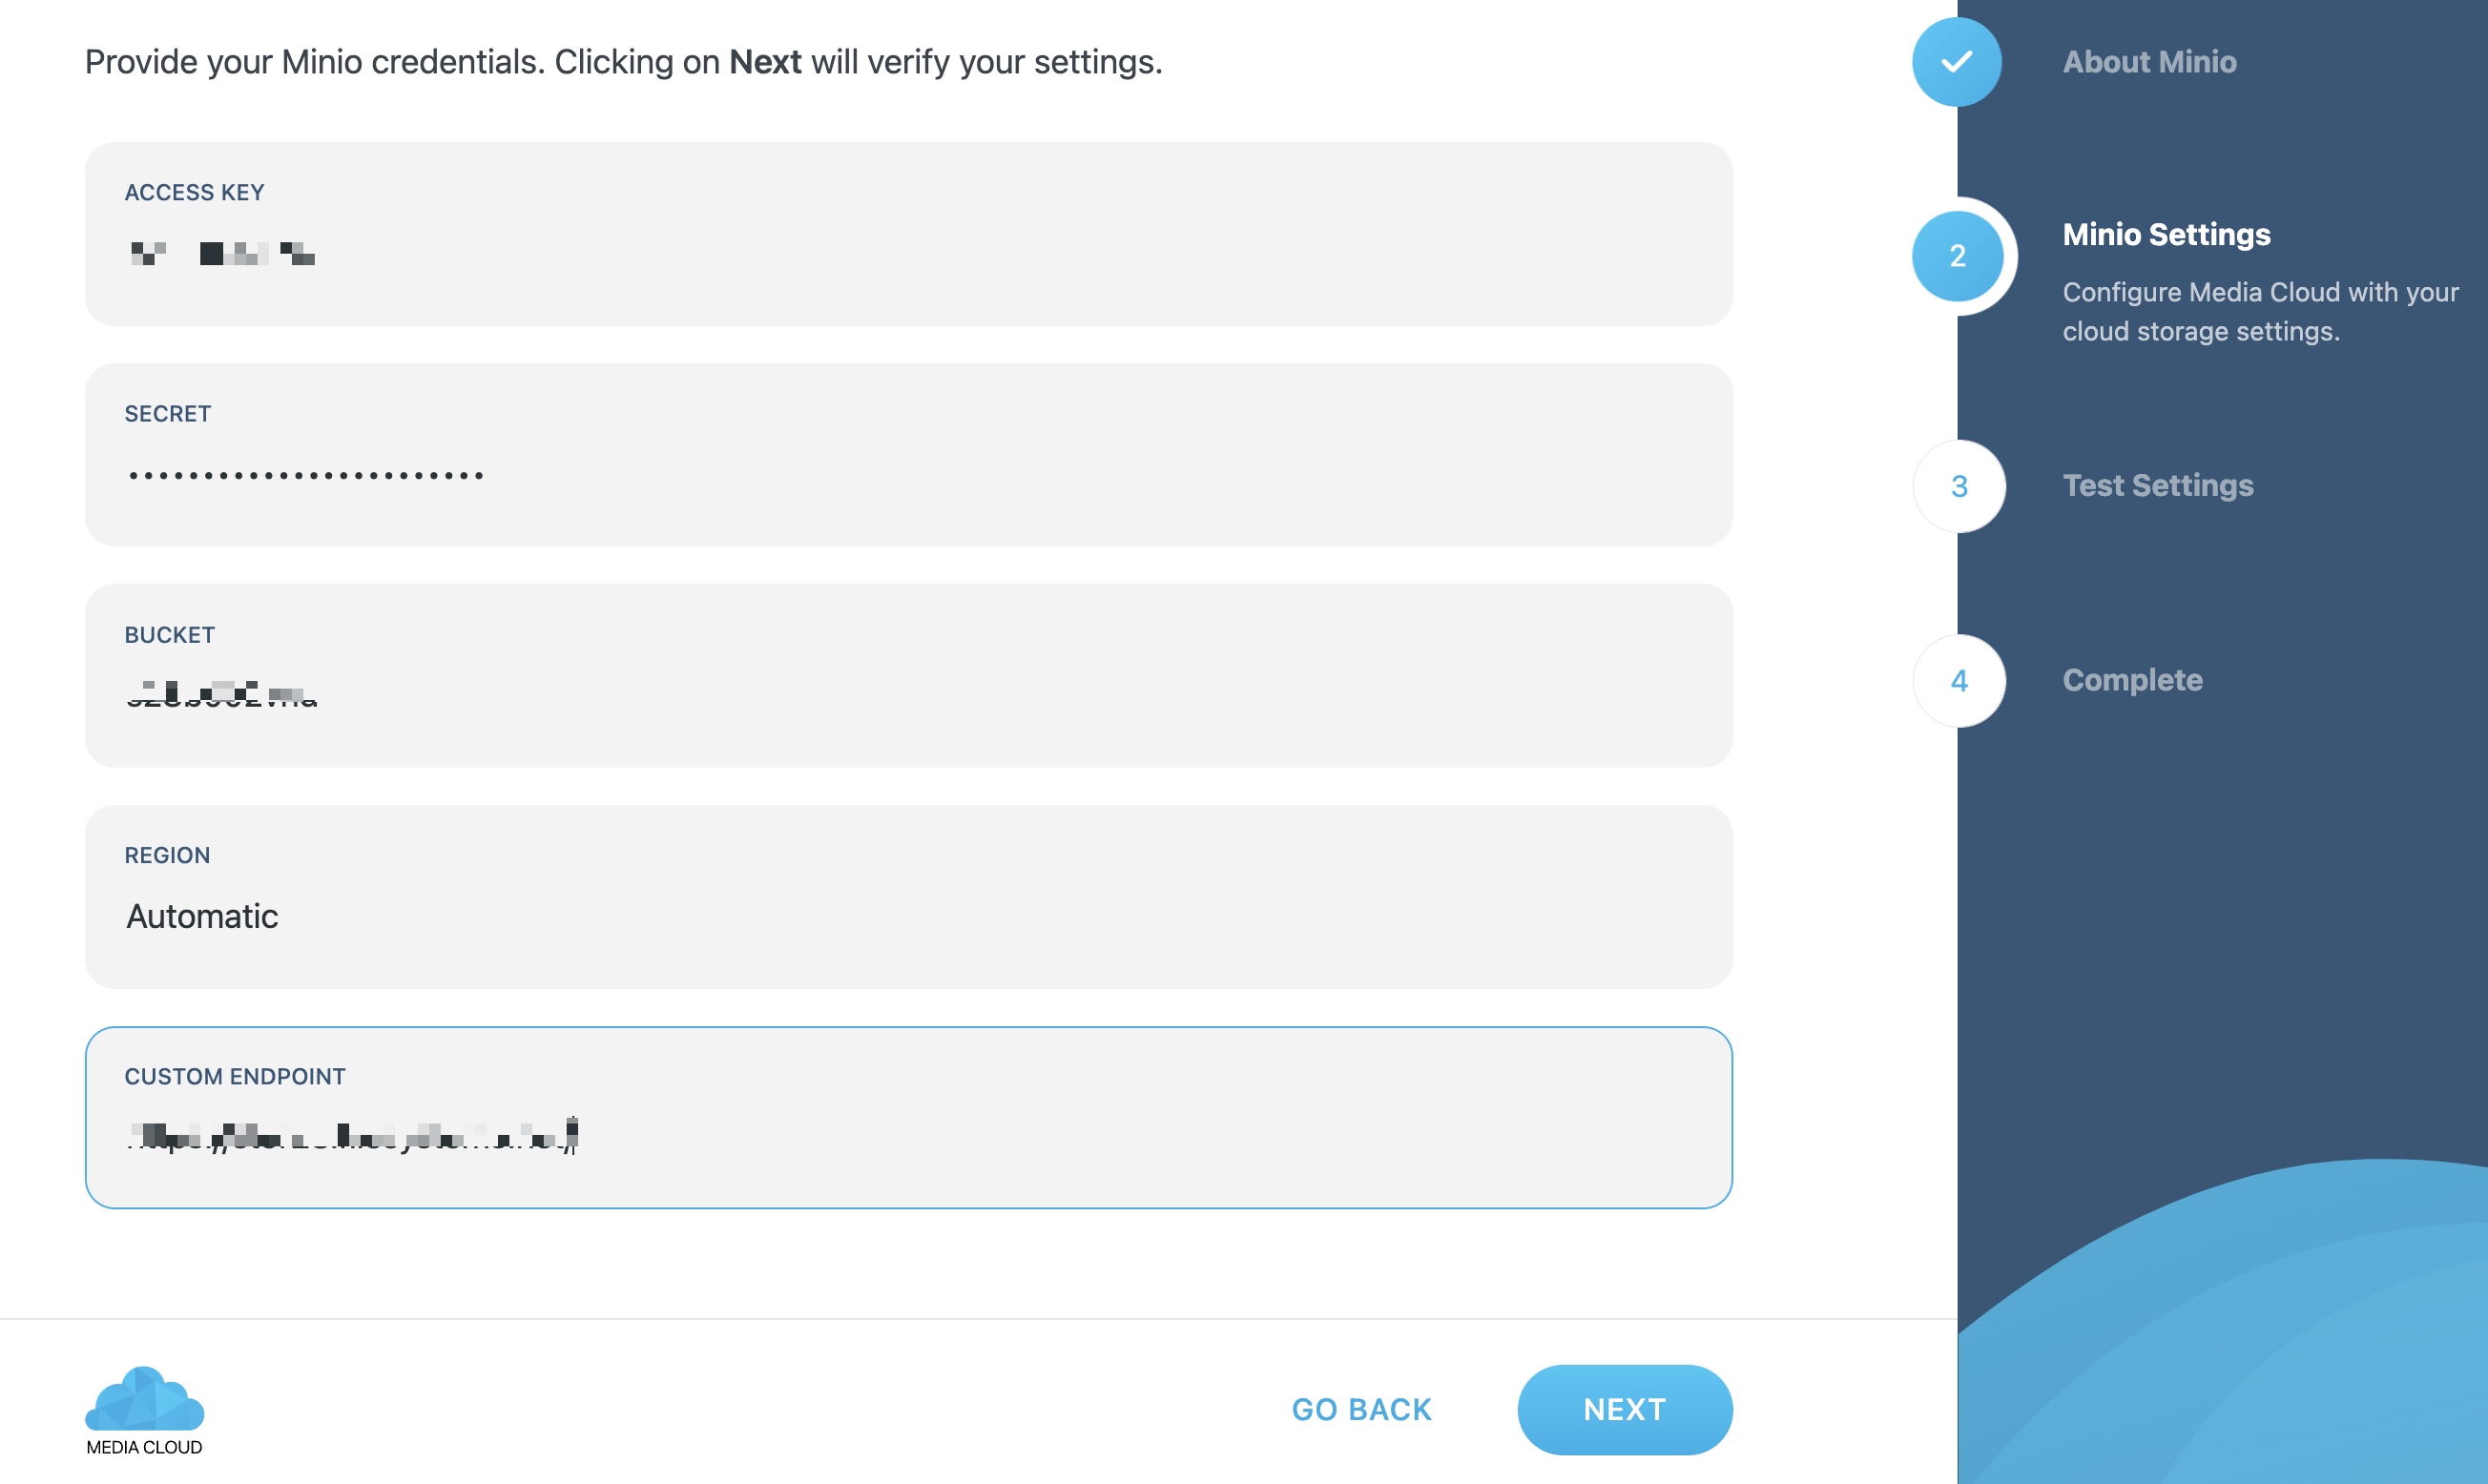
  11. Fill in the details you were sent when your storage server was set up. Click Next.
  12. enable minio access
  13. Click to Start Tests and allow the storage tests to run.
  14. You should see green check marks and are all set! If not, please contact us.
  15. Please do the additional steps below once the storage is working fine.

Additional Configuration Steps 

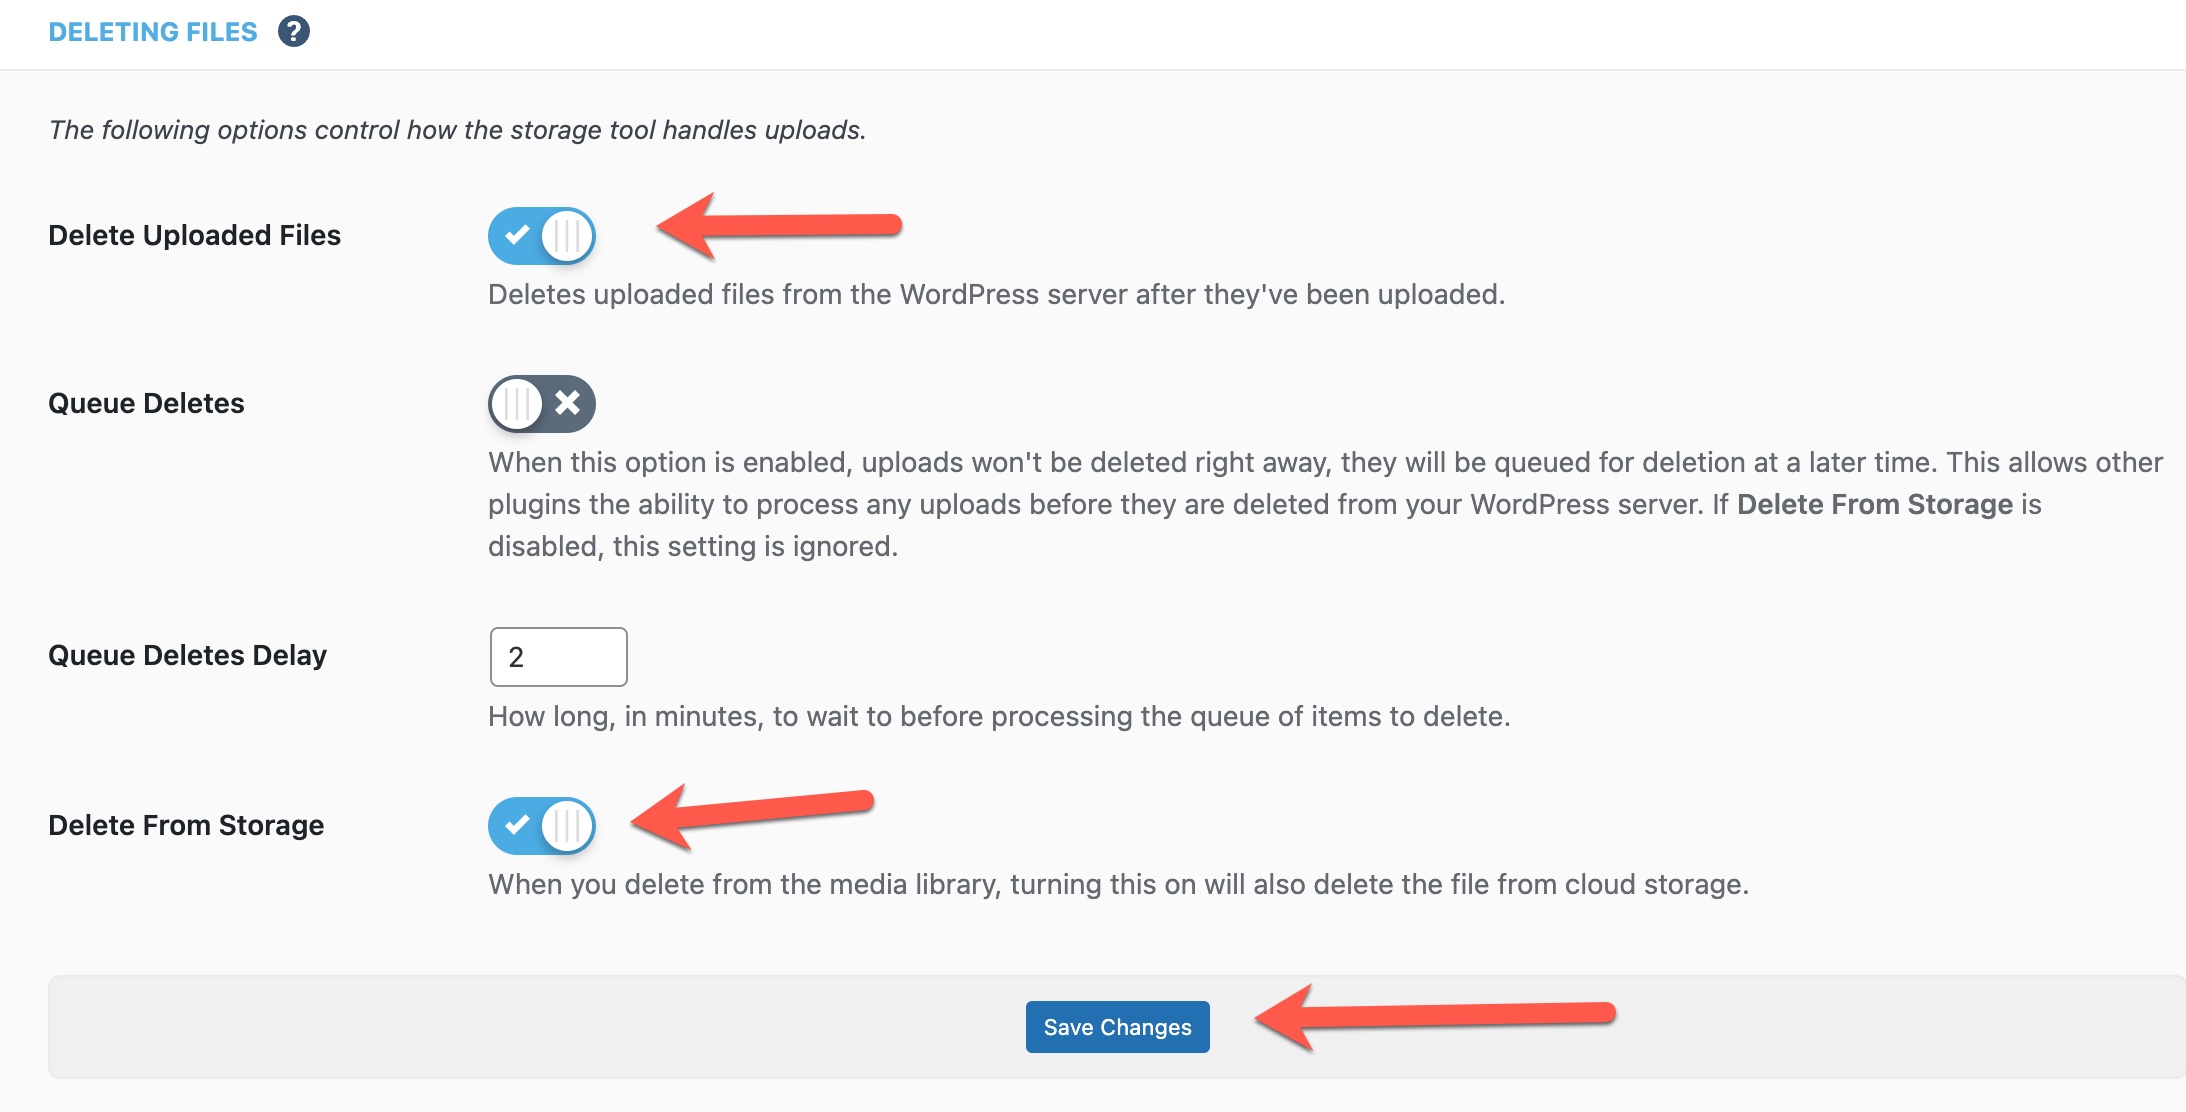
  1. Set to delete from storage and delete from server by navigating to the MediaCloud plugin and selecting “Deleting Files” from the menus:
  2. delete menu
  3. Enable “Delete Uploaded Files” and “Delete From Storage” and save the setting.
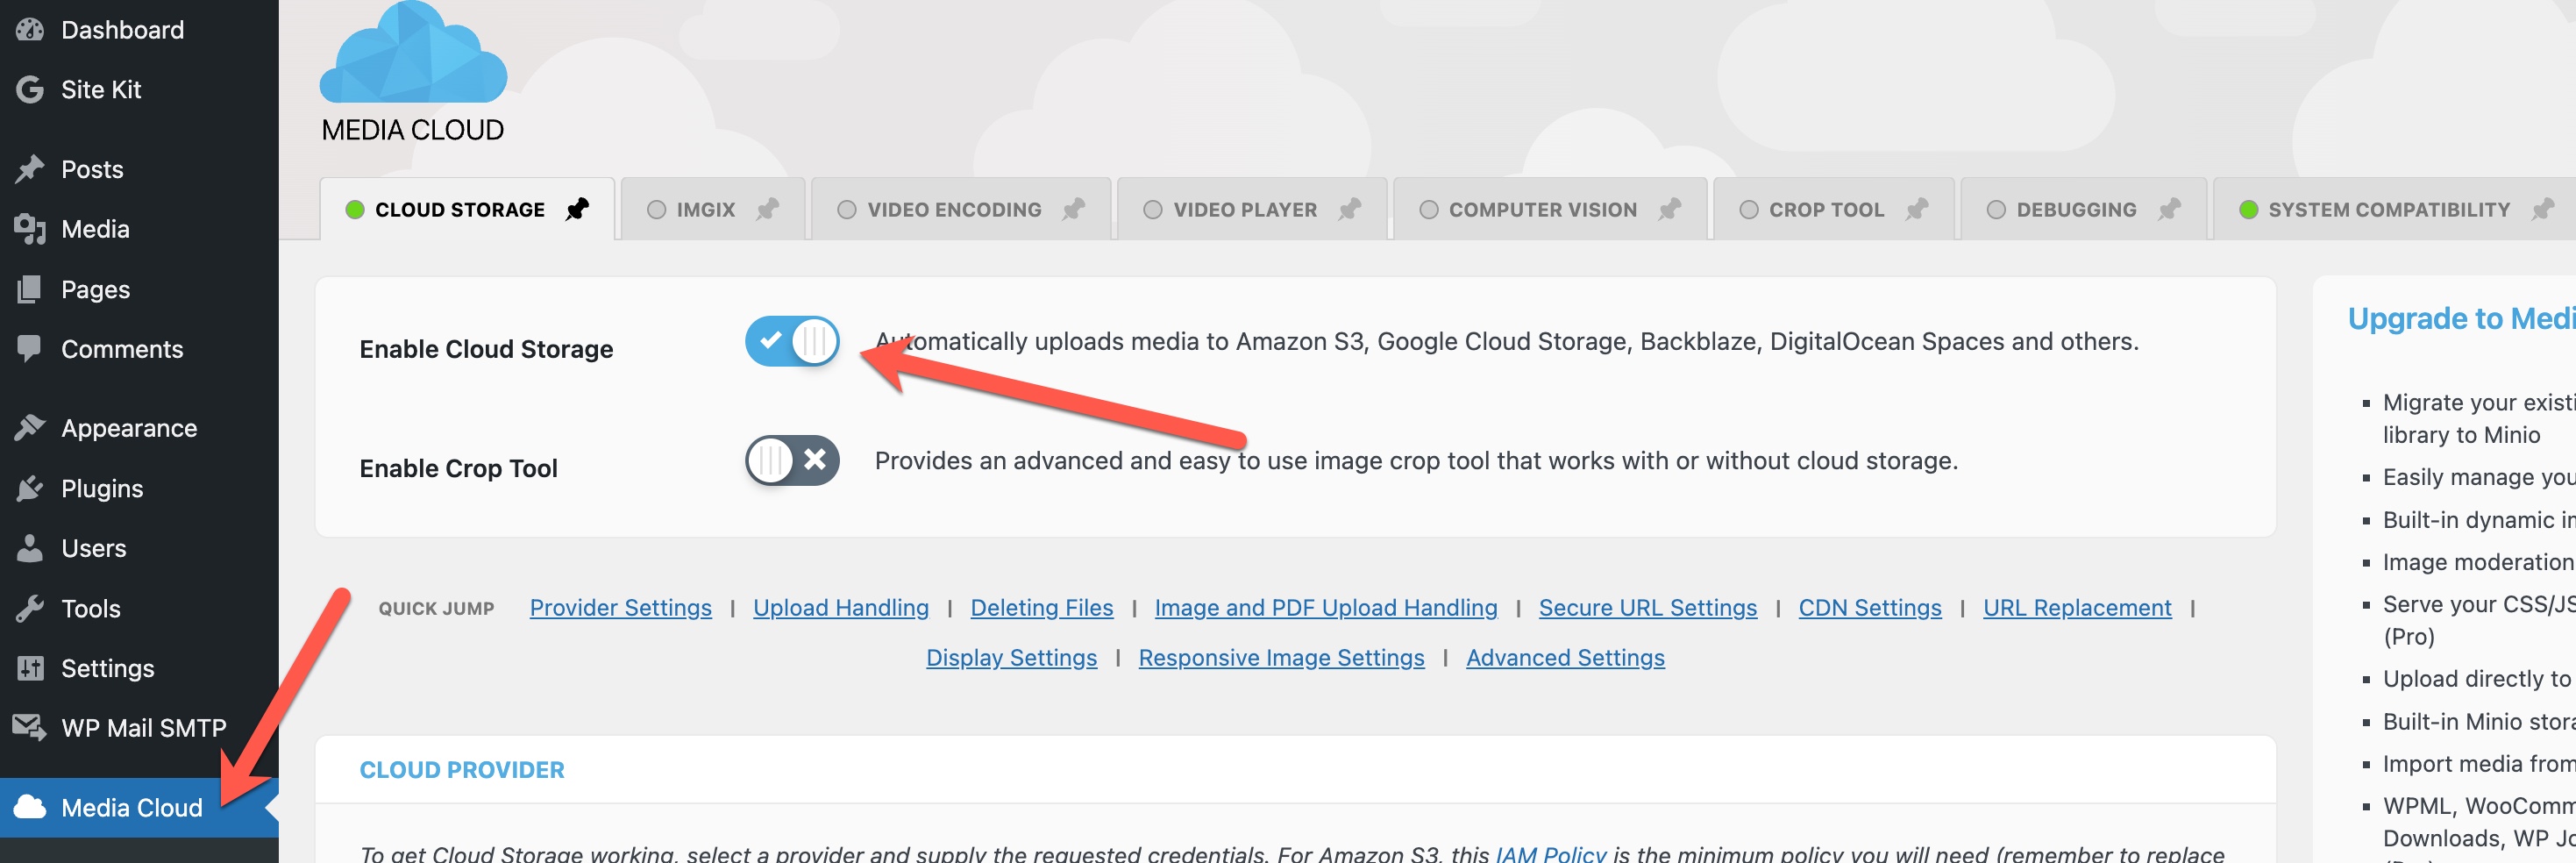
delete settings for media cloud plugin

Tip 

“Enable cloud storage” should be on. This is the first thing to check if you aren’t seeing your files uploaded to your storage server.

enable cloud storage for media cloud plugin

Black Friday & Cyber Monday 80% OFF Promo! Managed VPS @ $2.50/month!

It’s that magical time of the year again when you can save, save, save!! BryZar Web Services is offering a wonderful Black Friday/Cyber Monday deal on select Managed Cloud VPS hosting.

Continue reading “Black Friday & Cyber Monday 80% OFF Promo! Managed VPS @ $2.50/month!”

WordPress Mail SMTP Plugin by WPForms

As WordPress doesn’t have an SMTP setting, you’ll need to install a plugin in order to use SMTP. That’s where WordPress Mail SMTP by WPForms comes in. Let’s delve into why you need it and why this particular plugin is our focus today.

Continue reading “WordPress Mail SMTP Plugin by WPForms”

WordPress Website Insights with the Google Site Kit Plugin

Google Site Kit is an official plugin by Google for WordPress. This plugin provides a one-stop solution for insights into how people reach your site, search terms used, page speed and optimization, tag manager for marketing tags, and more.

Continue reading “WordPress Website Insights with the Google Site Kit Plugin”

WOW!! Sale! 80% OFF Managed VPS!!

Hot off the presses! 

WOW!! Sale! 80% OFF! Managed VPS @ $2.50/month! To celebrate Labor Day and International Charity Day, BryZar is having an awesomely generous sale on Managed VPS hosting!

NOTE: Promo is only for new BryZar clients.

ALL PLANS INCLUDE:

  • FREE CDN
  • FREE Premium SMTP
  • FREE Premium Email
  • FREE Offsite backups


80% OFF
=================================================
CODE: SELAB22-NY2GB
PRICE: $2.5/mo (semi-annual billing)

  • 2GB RAM
  • 1 core
  • 20GB SSD RAID10
  • 1TB Bandwidth
  • New York, US


CODE: SELAB22-NY4GB
PRICE: $5/mo (semi-annual billing)

  • 4GB RAM
  • 2 cores
  • 35GB SSD RAID10
  • 2TB Bandwidth
  • New York, US


CODE: SELAB22-MO2GB
PRICE: $2.5/mo (semi-annual billing)

  • 2GB RAM
  • 1 core
  • 20GB SSD RAID10
  • 1TB Bandwidth
  • Missouri, US


CODE: SELAB22-MO4GB
PRICE: $5/mo (semi-annual billing)

  • 4GB RAM
  • 2 cores
  • 35GB SSD RAID10
  • 2TB Bandwidth
  • Missouri, US


CODE: SELAB22-UK2GB
PRICE: $2.5/mo (semi-annual billing)

  • 2GB RAM
  • 1 core
  • 20GB SSD RAID10
  • 1TB Bandwidth
  • Coventry, UK


CODE: SELAB22-UK4GB
PRICE: $5/mo (semi-annual billing)

  • 4GB RAM
  • 2 cores
  • 35GB SSD RAID10
  • 2TB Bandwidth
  • Coventry, UK


#############################################################
To order please submit a ticket with your CODE at bryzar.com
#############################################################

Get it while you can as this offer expires on September 9, 2022.

We hope you enjoy these amazing prices! If you have any questions, please feel free to contact us. We would be more than happy to assist!!

Announcing Premium DNS

 Premium DNS 

Premium DNS is a Managed DNS Hosting service, and a great tool for easier management of your DNS (name servers, txt records, mx records, etc). It also provides lightning fast DNS propagation!! That, in itself, is a reason to choose the Premium DNS, as no one wants to wait for propagation. You can set it up in just three easy steps.

Advanced Features

  • Anycast DNS with more than 30 data centers on 6 continents
  • Cloud Infrastructure
  • Web-based dashboard for easier management
  • Managed DNS Hosting
  • Unlimited DNS queries
  • Primary, Secondary and Reverse DNS
  • Dynamic DNS
  • All types of DNS records
  • DNS Statistics
  • Export and Import DNS zones
  • Web Forwarding
  • TTL as low as 60 seconds
  • DNSSEC
  • DNS Failover

If you have any questions or feedback, please contact us (https://bryzar.zendesk.com/hc/en-us/requests/new)and we’ll be happy to assist!

Autoforward Email Using Apple Mail

Here’s how to set up email forwarding which you’ll need to use if you want to automatically forward your Premium Email to another email. This article focuses on Apple Mail.

Apple Mail for Mac

The following is for Monterey. For other tutorials, please check the guides at Apple.

 Step One 

Open the mail app on your Mac and choose Mail > Preferences:

then click Rules:

 Step Two  – Set up the Rule

Click Add Rule and type a name for the rule in the Description input box.

Indicate whether any or all of the conditions must be true for the rule to be applied. For this tutorial, we chose “all” as the option.

Set the conditions that determine which messages to automatically forward. In this case, you would set: “To” > “Contains” > (your domain email such as [email protected]).

Click the “Perform the following actions” pop-up menu, then choose “Forward message” and enter the email address to forward the messages to. Click Ok when done.